Hi, I recently acquired a Kitfox Model 1, serial number 29, with a 503 Rotax. Yes, I'm smiling. It's been sitting for seven years, since some ravens pecked holes in the top of the wings, sitting at the airport. The fact that it sat so long was probably partly due to the fact that the last owner (I'm the fourth) also had another Kitfox to fly.
So, I got right into it. I went through the basics, then fired it up and taxied around the yard. Obviously, I'm not flying it until I get EVERYTHING in proper working order, but there's no way I could say no to taking a test drive. Fortunately, I have a small yard, so things didn't get out of hand. Once I had my fun, I got down to business. I have a short list from the last Conditional Inspection, that needs to be taken care of. Adding to that, the fabric repair, a thorough check of the engine, refinishing the props, replacing the windshield, and a couple issues I found with the brakes. But wait, there's more...
I got it in the shop, late last night, and started work on it this afternoon. I pulled the doors, seat, and the cowlings, and drilled the rivets on the sun-yellowed windshield. It came with a new one. I removed the engine so I could drain the reduction gear oil. Like new, no metal or anything. It only has 196 total hours on it. The engine mount bracket is going to get notched so the gear oil can be changed without removing the engine. There will be a little touch up painting on the engine mount and under the seat.
I noticed a little bit of gas on the six gallon aluminum wing tank. It had been repaired somewhat recently, but it has a bit of a drip. Not enough to notice, until I removed the stainless steel cover on top of the wing, that was put in place last time it was repaired. I might see if the weld is just cold-lapped, but most likely, I'm looking at a new tank. I had already called Kitfox to ask stupid questions, and got the impression that they could not care less about my Model 1. Sorry, I can't afford a new plane. What I did find out, is that it's about twelve weeks lead time to get a new tank built, and it's about the same cost for the 13 gallon tanks, as for the 6. They said I need to know the wing twist. I didn't really get an answer when I asked about the best way to measure the twist. I was wondering where the most appropriate places would be to measure. Reading the manual, it appears that it would have a 2" twist, measured spar to spar, at the ends. I'll measure it to be sure. I guess the twist should be measured at the center of the spars, on the end ribs, and not clear to the trailing edge? The rib goes under the rear spar, and not the front, but that won't matter, because they're all the same. Common twists were 1 3/4" or less, from what I found online. So, if I level the root rib, between the spars, I'll check level at the end rib, and measure the gap. Right? He did give me a little insight into what a project it would be to switch to the 13 gallon wing tank. I've gotten a look at the drag, anti-drag structure, and looked at the few pictures that members here have posted of their 13 gallon wing tank retrofits. And, of course, I've read all the nightmare stories of the problems with the fiberglass tanks. It's enough to make me wonder why they don't just gear up to make plastic wing tanks that could fit any twist. It is possible.
All this leads to my next little problem. I opened the valve to drain the wing tank into the panel tank. If you're wondering, both tanks were empty, and I put fresh, clean fuel in them. I was considering whether I could get by with just the panel tank, and save some weight by removing the problematic wing tank. I really wanted more capacity, not less. So, the fuel was draining into the panel tank, when I noticed a wet spot on its left side. Sure enough, the plastic on the panel tank was cracked about 1 1/2', 2/3 of the way up the tank. I pushed on a suspect spot just above that, and it cracked, too. That left me with zero good gas tanks. I really don't want to wait twelve weeks for wing tanks. Twelve weeks for one, six gallon tank, is a rate of two weeks per gallon. I am considering fabricating my own panel tank out of aluminum. I could have that done really nicely in a couple days. It's still not much capacity, even if I can stretch it a little. Are there any options out there? Maybe someone has a panel tank to sell. As I see it, the best, most expensive, and most time consuming solution is tear into both wings and install two big wing tanks. The biggest downside would be the added weight. Can anyone tell me what the 13 gallon tanks weigh? If I get rid of the panel tank, I'd be losing forward weight. I'd sure appreciate input on tanks and configuration. Remember, this is a Model 1 with a 503. Empty weight was 414 pounds, and I don't want to increase it, or decrease my useful load, and I don't want to end up tail heavy.
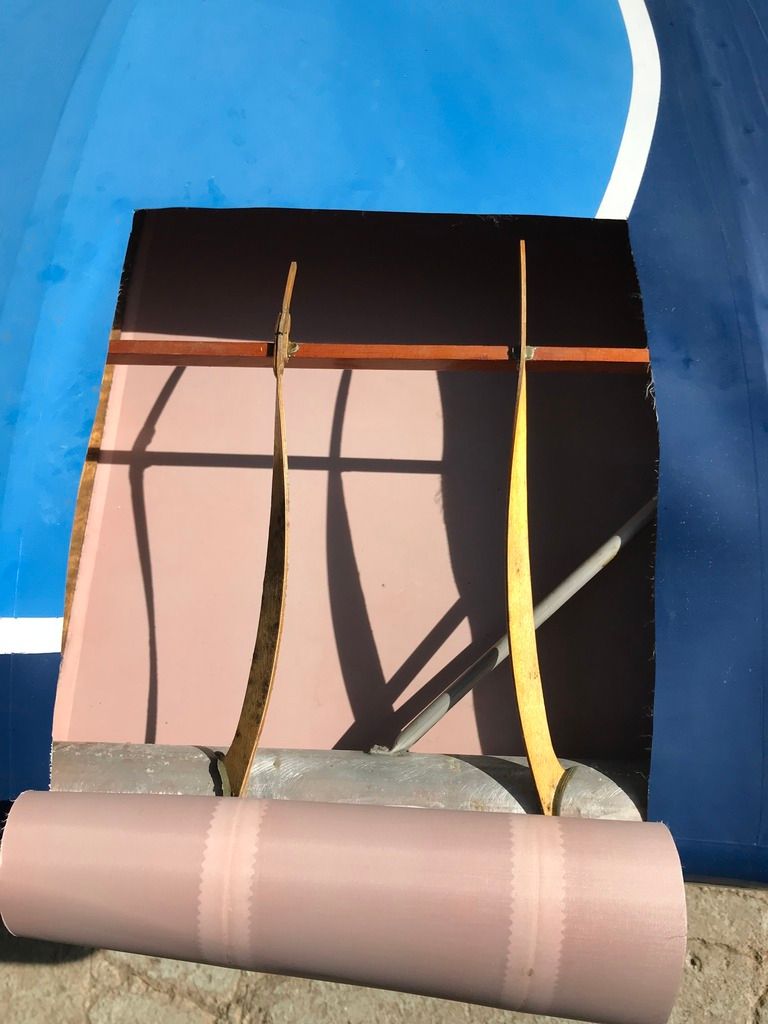
I'm considering the possibility of fabricating a light panel tank, and ordering the wing tanks, to be installed next winter. That way, I could run light, slap some patches on the wings, and get it in the air with a minimum amount of fuss. I'd almost have to leave the wing tank in (maybe I can fix it), since all the structure is gone from that bay. Next year, I could take the time to cut out ribs and move braces to install the tanks, and then re-cover the wings. Speaking of fabric work, maybe one of you with experience with patches can point me in the right direction. I'll try to post good pics. I have to fix a couple false ribs, and there are a few rips and little holes on the top of the wings.
It came with the hydraulic disk brakes. One wheel has apparently rubbed on the caliper, and the left caliper is touching the rotor, on the piston side. I'll check that out. Might need to clearance the calipers a little, and replace pads, or something. The toe brakes are at a bad angle, so it's pretty much impossible to keep off the brakes while using the rudder. I'm going to relocate the top bracket to change the angle of the brake pedal. I saw a picture online where someone had solved that problem by putting wooden blocks on the lower, rudder portion of the pedal.
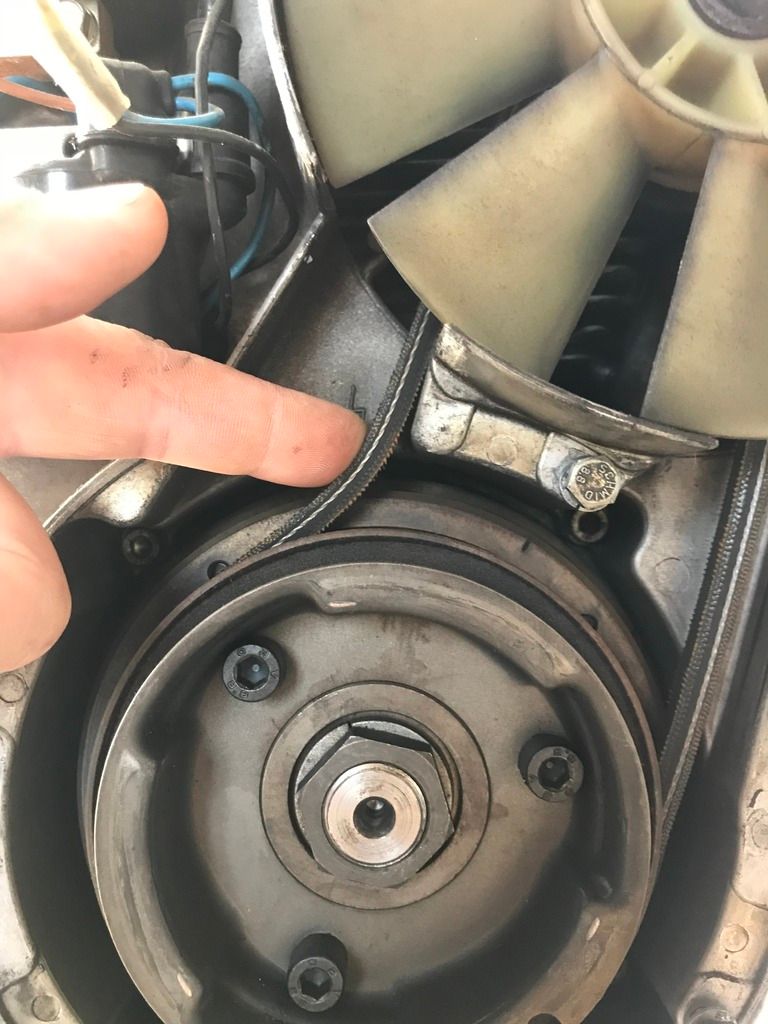
The carb boots need to be replaced, and I'm going to check the timing and replace the starter cord for good measure, before I reinstall the engine.
It came with two propellers, both three bladed wood props. Both could stand to be refinished. One, the better one, has a small split in the tip, which can be glued.
I found the doubling plates mentioned in Service Letter 8, in a box, and I was considering doing that, and the flaperon hanger reinforcement brackets mentioned in another Service Bulletin, too.
That's my project. I'm looking forward to flying it. I'd love to hear comments or suggestions on any of the laundry list of things to do to it, or your own experiences with similar projects. I'll try to get photos up in the morning.


 Reply With Quote


